Designers, retailers, and renovators
Material sample to room visualization workflow
Move from sample to decision by capturing the material clearly, applying it to a specific surface, comparing options, and saving the approved direction with the right context.
Capture the sample and info card
A good material reference gives the AI enough information about color, pattern, texture, and finish. In My Captures, save the material sample and add a second photo of the showroom or supplier info card so the name, price, size, finish, and product code stay connected to the visual reference.
- Fill the frame with the material surface.
- Photograph the info card straight-on so text and codes are readable.
- Avoid strong reflections, color casts, and harsh shadows.
- Use separate samples when comparing different finishes or colorways.
Match the sample to a room surface
The prompt should connect the sample to one surface in the room. Name the surface, describe any constraints, and say which room elements should remain unchanged. When there is no physical sample, use color mode to apply a color code or described color to a specific element such as a wall, cabinet, trim, or wardrobe.
- Apply this linen sample to the two sofas only.
- Use this stone on the kitchen island, keeping cabinets and floor unchanged.
- Replace only the wardrobe doors with #D8C8A9 or a warm cream paint color.
Create controlled variations
Compare one change at a time so the decision stays clear. If you change the material, keep the room photo and surface constant. If you change the surface, keep the material constant.
Save the decision context
When a direction is selected, keep the original room photo, sample image, info-card photo, generated result, material name, target surface, and review notes together. This makes later procurement and approval conversations easier to trace.
Visual examples
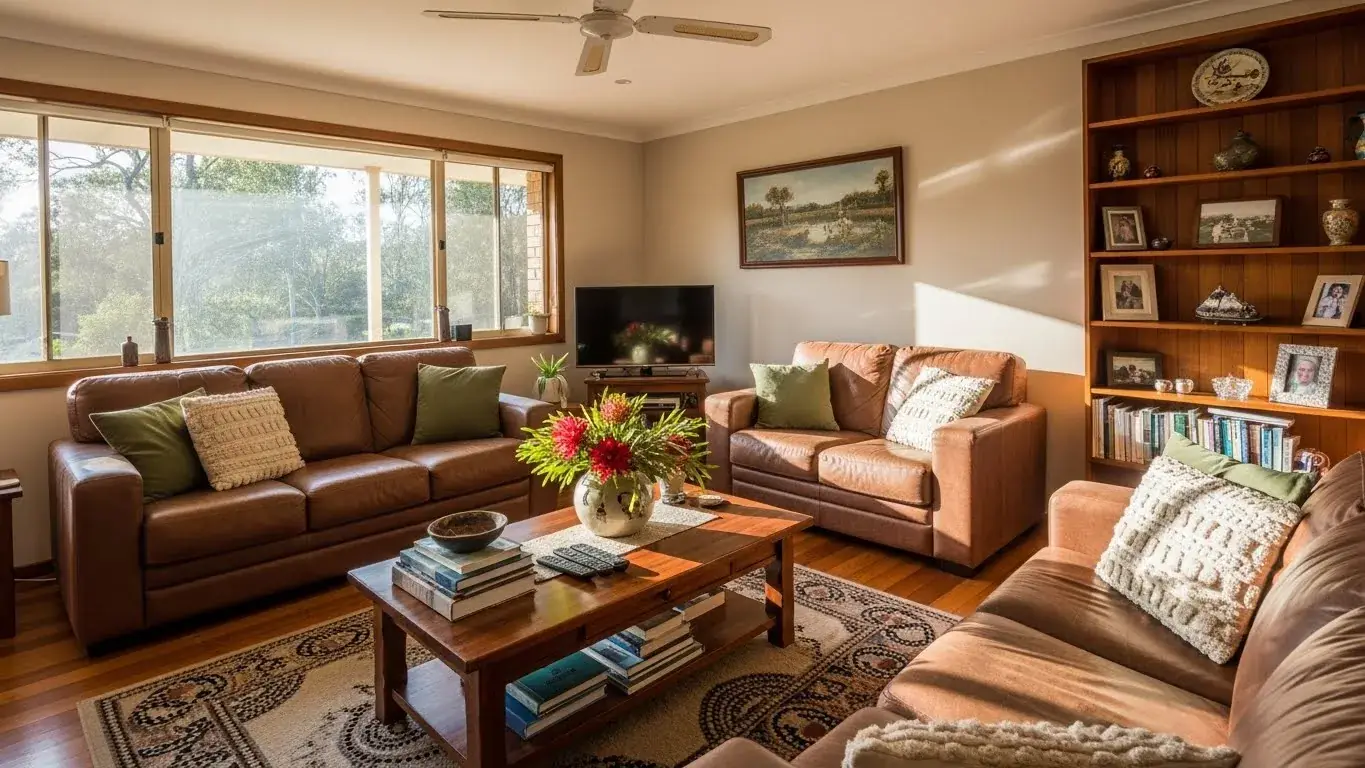
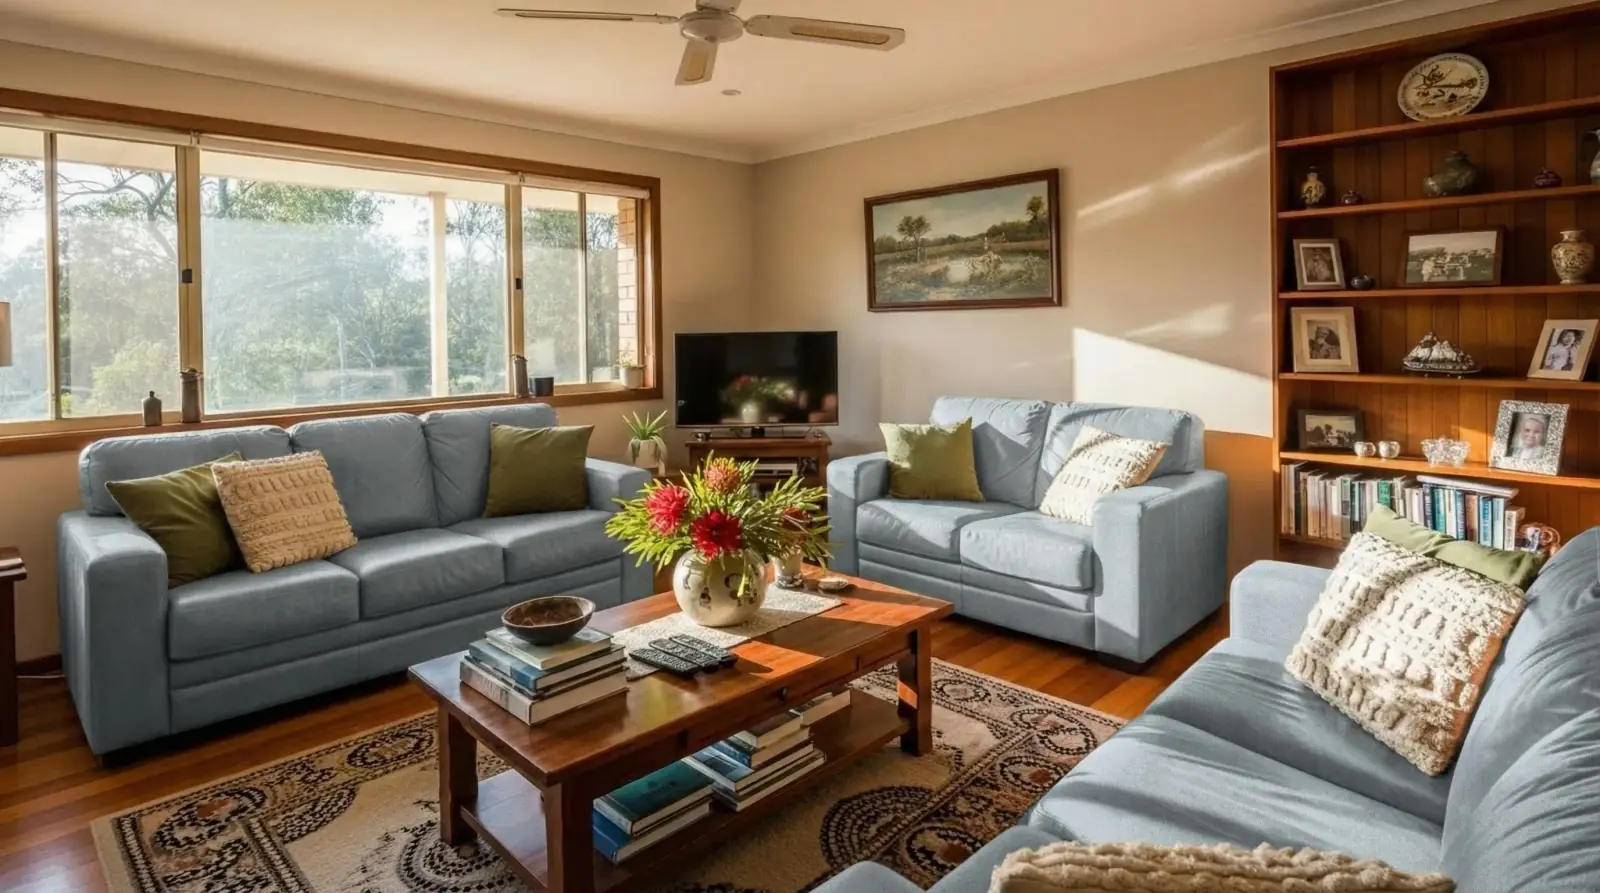
Fabric sample to sofa visualization
A linen fabric sample applied to living room sofas while keeping the rest of the room unchanged.
Light blue linen / Living room sofas

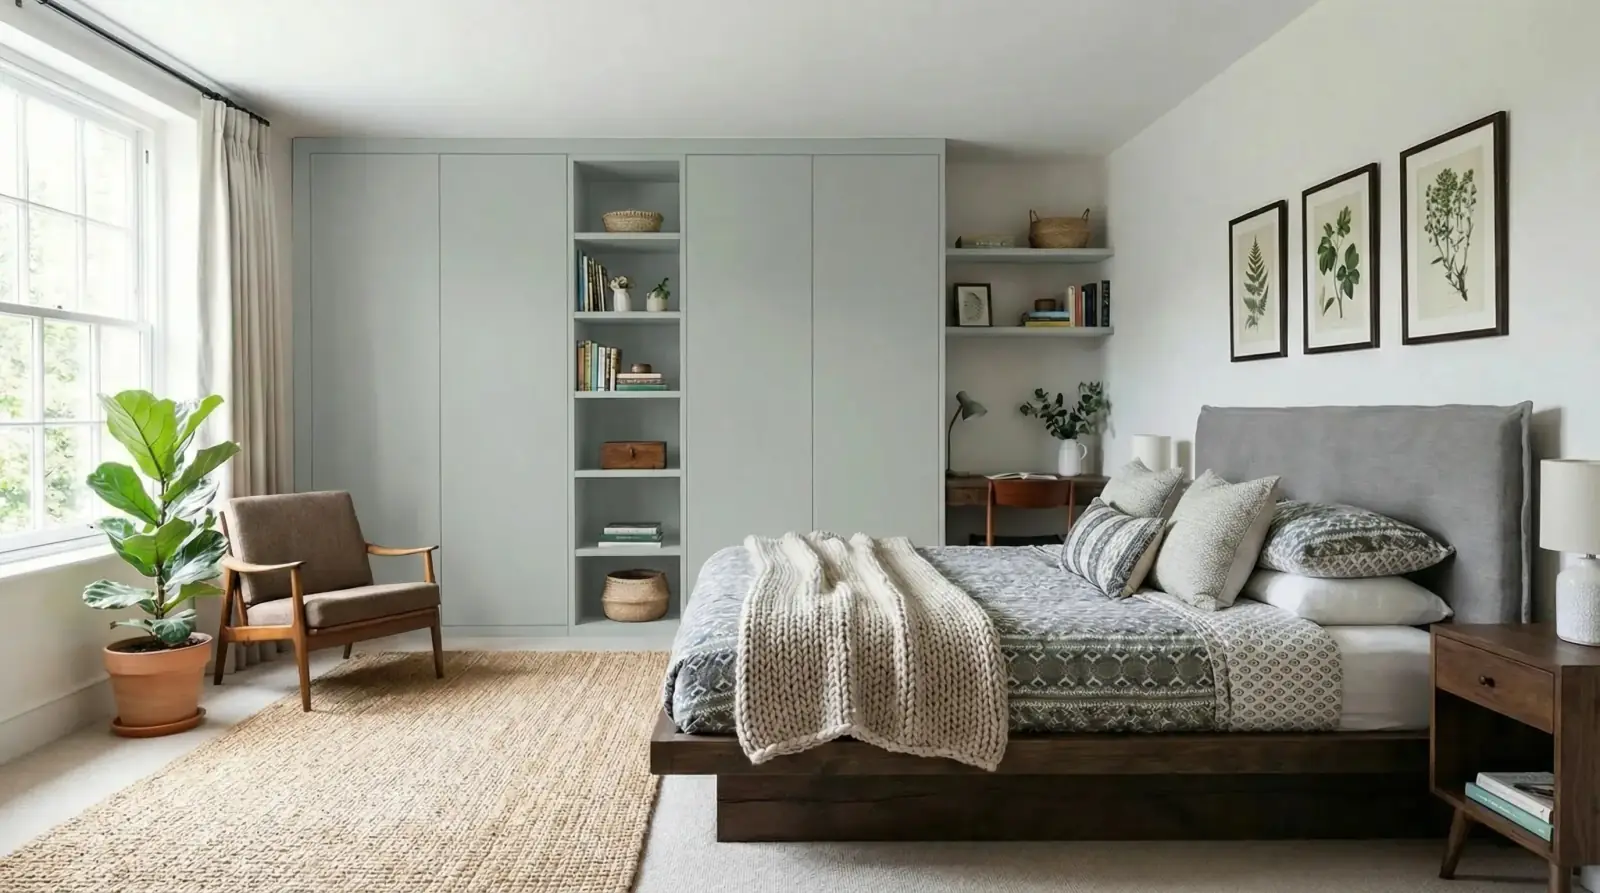
Paint sample to wardrobe visualization
A paint sample applied to wardrobe doors to test the finish direction in the actual bedroom context.
Sahara Creme paint / Bedroom wardrobes


Questions
What makes a good material sample image?
Use a sharp image that fills the frame with the material, uses neutral light, and avoids packaging, hands, glare, or unrelated background objects. Also capture the material info card separately when you need price, sizing, finish, or product-code details later.
Can I use samples for fabric, stone, paint, and tile?
Yes. RenoViz can use different material references, but each result should still be reviewed for scale, texture, color, and surface accuracy.
How do I compare multiple samples fairly?
Use the same room photo, same target surface, and similar prompt wording for each sample so the material difference is easier to evaluate.
Related pages
Try this workflow
Use RenoViz to compare material directions in a real room photo, then confirm final choices with samples and professional review.