Designers, retailers, and renovators
How to present material options to clients
Turn material samples and room photos into a tighter client presentation by showing each option in context, explaining tradeoffs, and asking for decisions one step at a time.
Narrow the set before presenting
Clients make better decisions when the presentation compares a focused shortlist. Use visualization to test many options internally, then share the strongest two to five directions.
- Group options by decision type: floor, counter, wall, cabinet, or upholstery.
- Keep each comparison anchored to the same room photo when possible.
- Remove materials that fail budget, lead time, maintenance, or installation constraints.
Show one decision at a time
A clear client review should separate taste decisions from technical approvals. Present the visual direction first, then discuss cost, durability, availability, and installation details.
- Lead with the client room photo so the context feels familiar.
- Label each option with the material name and target surface.
- Add short notes for why the option works and what still needs verification.
Use comparisons to remove ambiguity
Side-by-side visuals help clients explain what they like. Ask whether they prefer warmer or cooler, quieter or more patterned, lighter or more grounded, then update the shortlist from that feedback.
Document the approval
After the client chooses a direction, record the selected visual, the exact material reference, the remaining checks, and any open dependencies. RenoViz captures are useful here because the material image and the photographed info card can stay together, preserving price, size, finish, and product code for follow-up. The visualization supports the conversation, but the physical sample and supplier specification remain the source for final ordering.
Visual examples
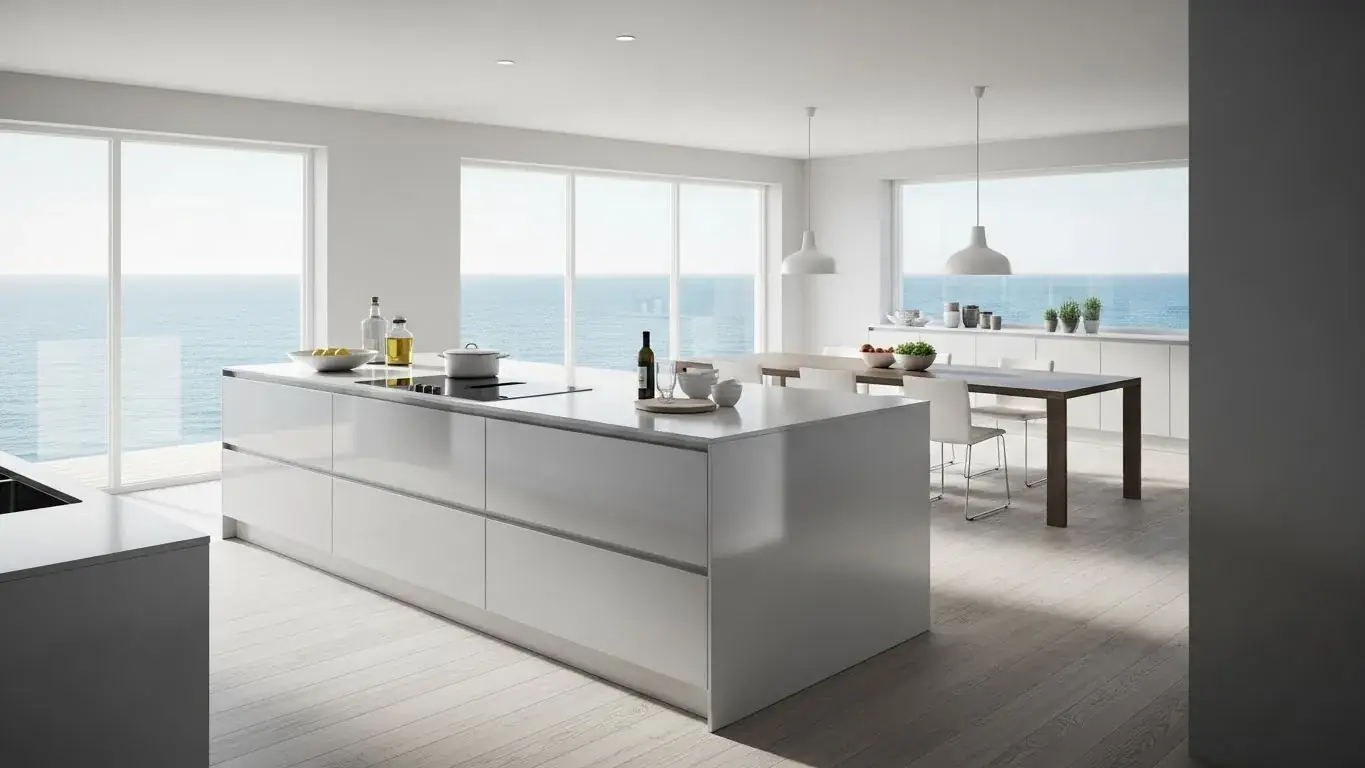
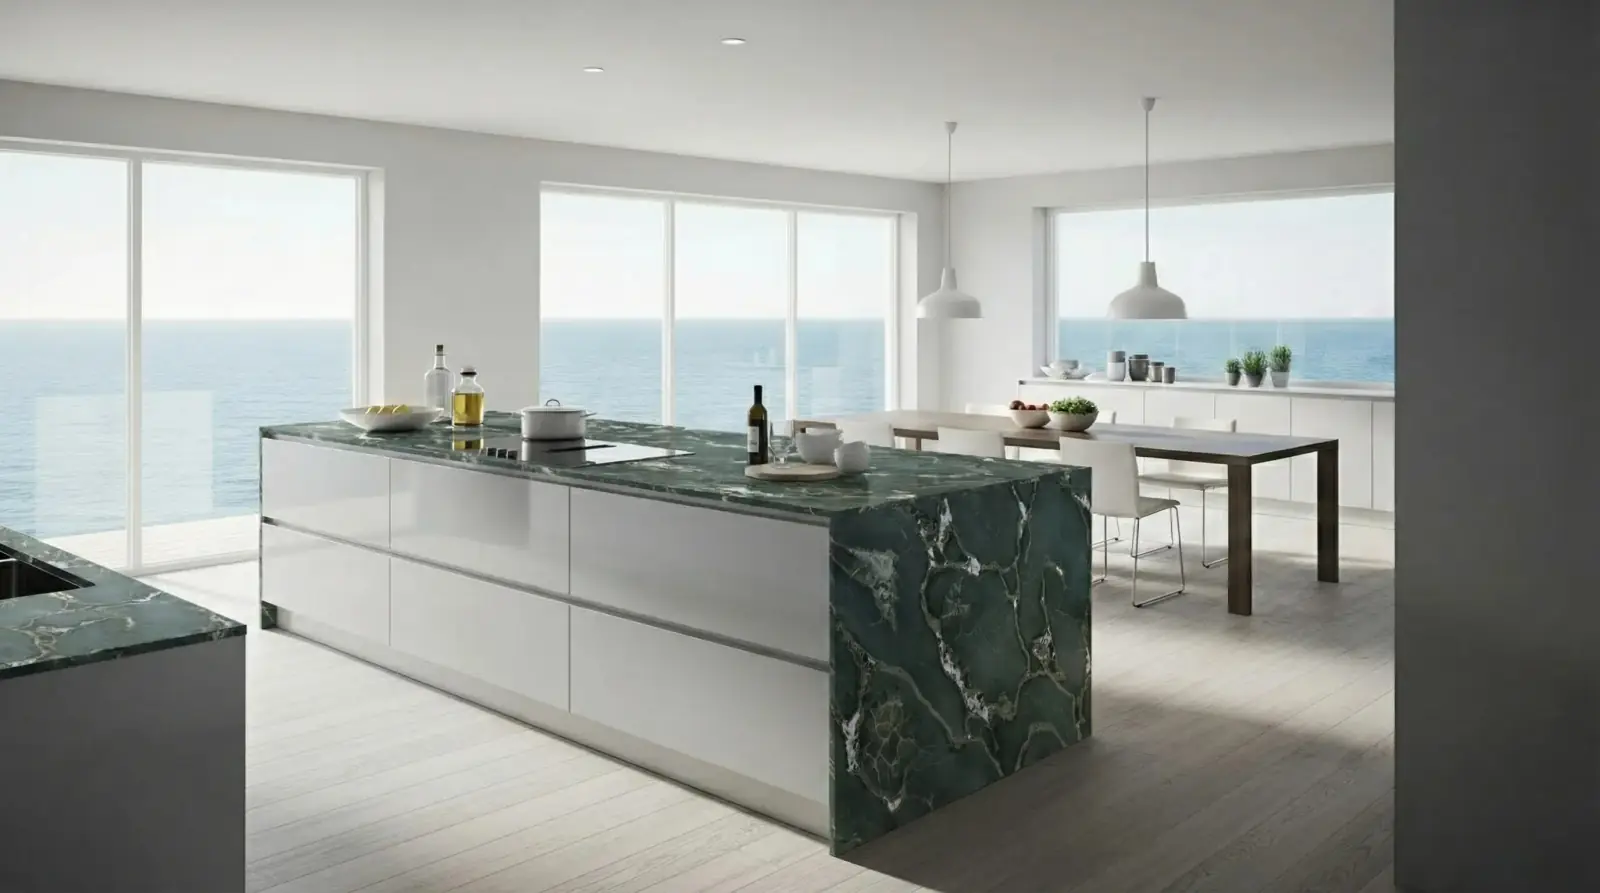
Kitchen island material option
A stone sample visualized on the client kitchen island for a focused surface-specific approval discussion.
Safari Green Quartzite / Kitchen island

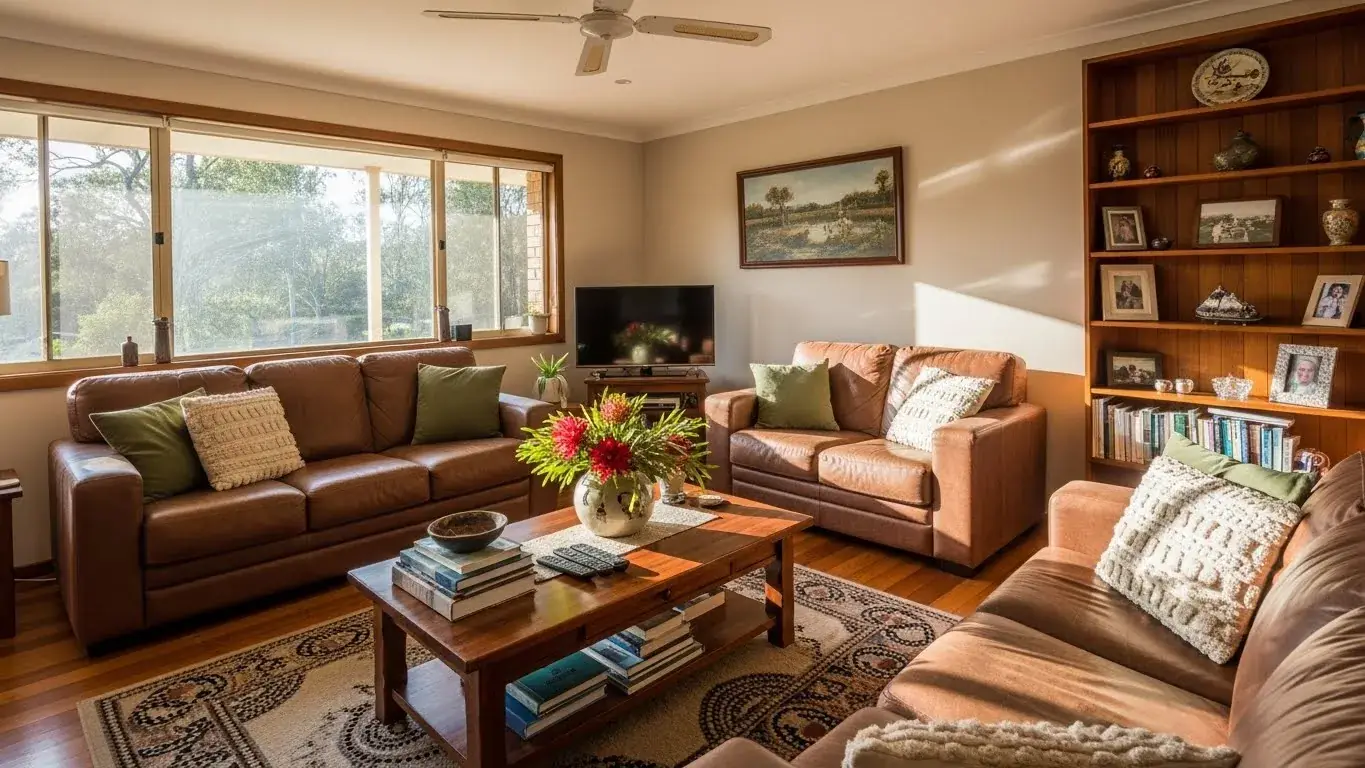
Sofa fabric option
A fabric sample applied to existing sofas to compare color, softness, and room balance before a client review.
Light blue linen / Living room sofas


Questions
How many material options should I show a client?
Two to five options is usually enough for a focused review. More than that often turns the meeting into browsing instead of decision-making.
Can I use visualizations in a design proposal?
Yes, but label them as AI visualizations or concept images and keep final specifications tied to supplier samples, product codes, and professional review.
What should I include with each material option?
Include the room visualization, material name, target surface, practical notes, product code or supplier reference, and the next approval step.
Related pages
Try this workflow
Use RenoViz to compare material directions in a real room photo, then confirm final choices with samples and professional review.